This premium tutorial is for
Manga University students
How to Draw Facial Expressions (Part 1)
Changing the expression of anime and manga characters isn't particularly difficult, but it helps to know which features need to be adjusted for each type of emotion. In this tutorial, I will show you how the various parts of the face work together to convey different emotions. Once you learn what features to change to achieve the look you want, you should be able to draw any emotion you like. Please read through my other facial tutorials, though, since it helps to have a working knowledge of how the features should be aligned before you begin.
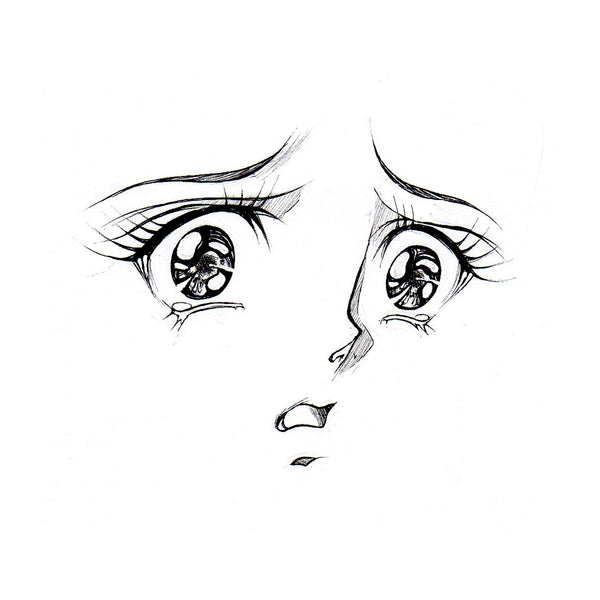
First, we'll start off going over sadness, a fairly common emotion. This is a typical anime and manga face, but notice the changes that have been made. The most obvious indicator of the character's emotion, in...